Think of Events like moments in a timeline. Just as you might note when a friend arrives or a package is delivered, Events in analytics mark any notable action that occurs.
For example:
A user clicks “Sign Up”
A product is added to a cart
A video starts playing
A quiz is completed
These markers help you see when and how often key actions happen, making it easy to answer questions like “What time of day do most purchases happen?” or “How many signups occurred this week?”
Click the "Events" header in the top navigation.
Events top nav link
On the upper right side of the page there is a button to create a new event.
Create new event
After clicking the button you'll be taken to a page to start building your new Event. This page is also the Event Details page which can be used for editting the Event later. Note: The Event isn't created/saved until you click the save button.
Fill out the fields required to define the Event. At the absolute minimum the Event should be given a name though adding additional information will make the Event more usable in the future.
Event Parameters
The validation string defines the specific rules for the chosen validation type:
Parameter
Purpose
Name
The name of the Event. We recommend you stick with a consistent naming pattern for your Events as part of your data governance strategy.
Event Type
This represents a category of for groups your Events. The value can be arbitrary or it can be based on the categories available for your CDP. If you following the grouping convention for your CDP those Event Type values will be maintained when passed to your CDP.
Event Icon
Event icons are utilized when Events are dropped straight onto a Map without being part of a View. Some server to server Events won't inherently be triggered from a View and therefore need a visual representation on the Map. Anamap utilizes the Material Design Icons set from Pictogrammers. Find the name of an icon that represents the Event from the set and add the name to the Event Icon field. Make sure the icon name includes "mdi-" at the beginning.
Description
Fill this with information about what the event is, where it's triggered, and how to use it. The description field is used to enhance search (and the data AI agent if you're on the Enterprise plan).
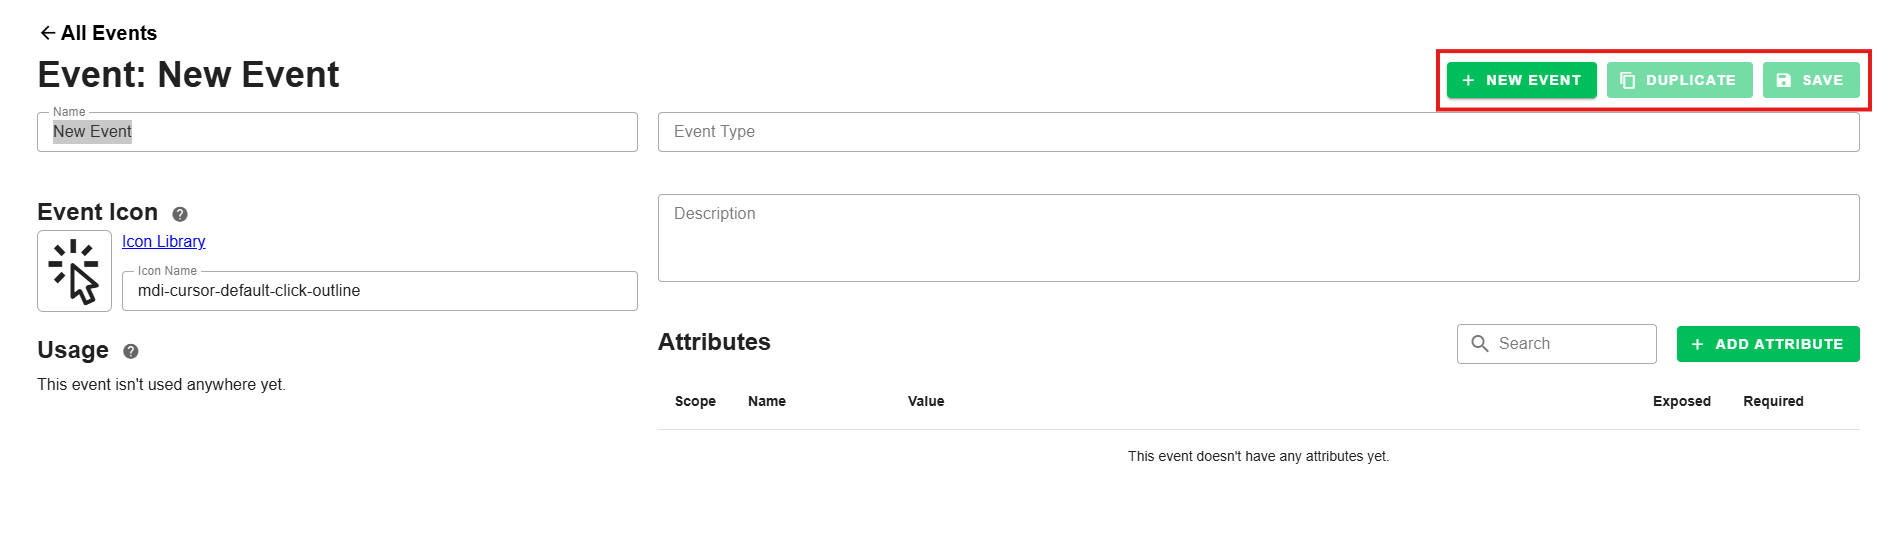
After filling out the Event information click the Save button in the upper right corner of the page and your new Event will officially be created.
Create new event
As a last optional step you can create a new Event or duplicate the one you just saved.
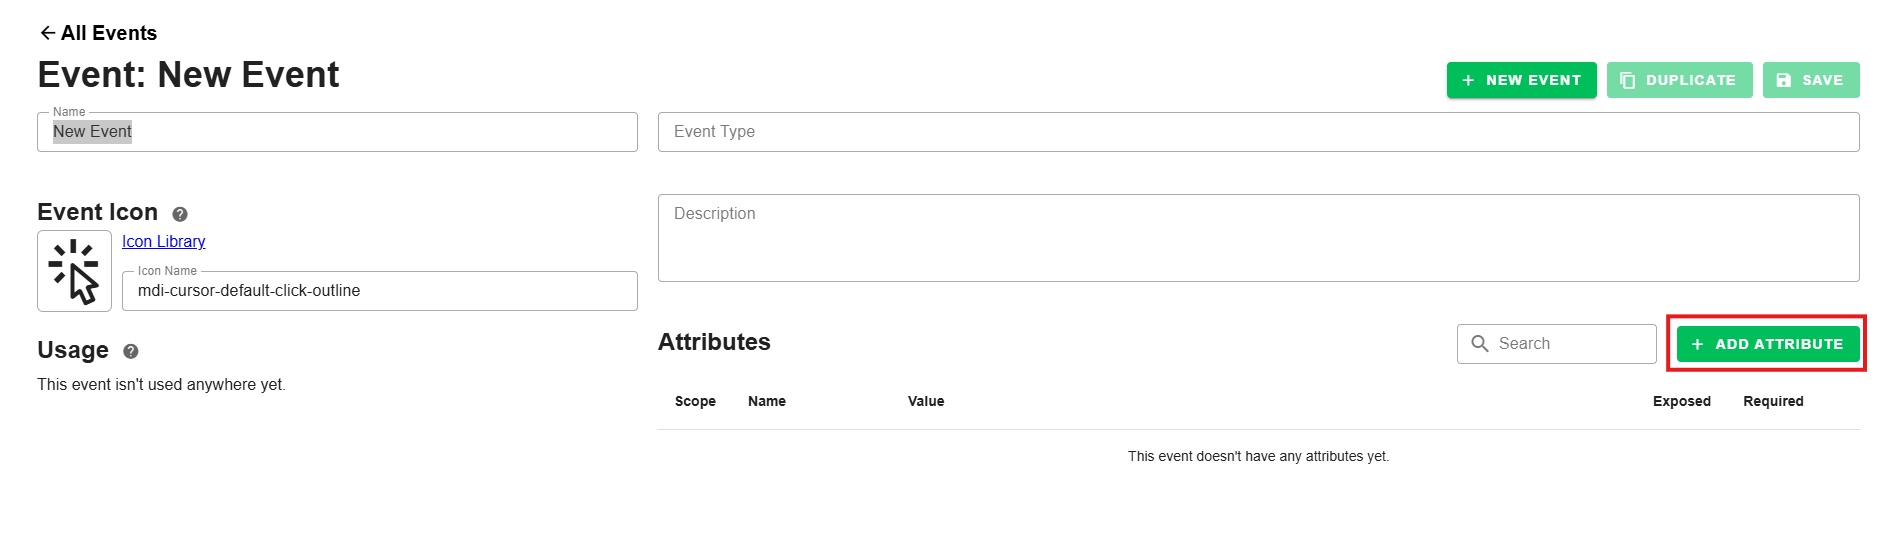
Once you've created a few attributes you can add them to Events. If you need help creating Attributes checkout our documentation on attribute creation.
Start by clicking the Add Attributes button.
Add Attributes button
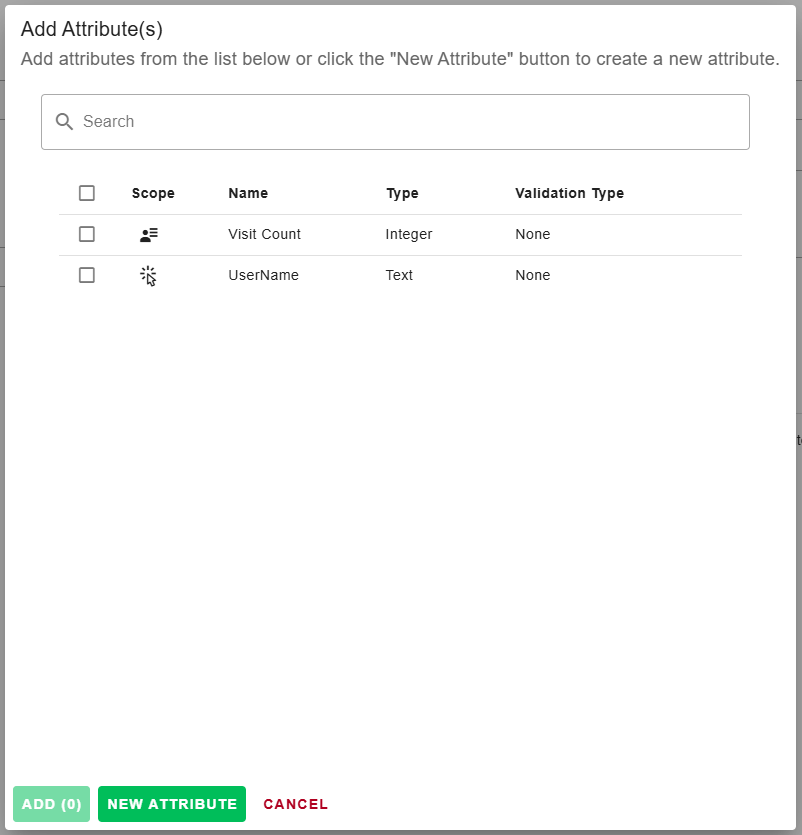
The dialog that is displayed shows all of the Attributes that haven't already been added to the Event. You can search the list using search field at the top of the dialog. The search will attempt to the Attribute name and description to find relevant entries. In the Attribute list you can see the scope of the Attribute represented by an icon. Hovering over this icon will show you the tooltip with the scope name.
Add Attributes button
Click the checkboxes of the Attribute you would like to add to the Event.
Click the Add(#) button at the button of the dialog to add the Attributes to the Event. The number in the button text tells you how many Attributes you've selected.
If the Attribute doesn't exist yet there is a way to create a new Attribute and add it to the Event directly from this page. Clicking the New Attribute button at the buttom of the dialog will open a second dialog that will allow you to define the basic parameters of an Attribute and add it to the Event. Note: This Attribute isn't actually created/saved until your save the Event.Add New Attribute button
Removing Attributes can be achieved by clicking the delete button next to each attribute on the main part of the Event Details page.
Add New Attribute button
In order to update Events you have to go to the Events Index page and click the link icon on the left side of the Event. One on the Event Details page you can update any parameter of the Event or add or remove Attributes and save the saves.
Event Details link
-Saving Changes: Once you've made changes to the Event data you can simply hit the Save button in the upper right corner of the page to save the changes. If you have a CDP sync setup the sync will automatically push your changes to the data management aspect of your CDP.
Event Details link
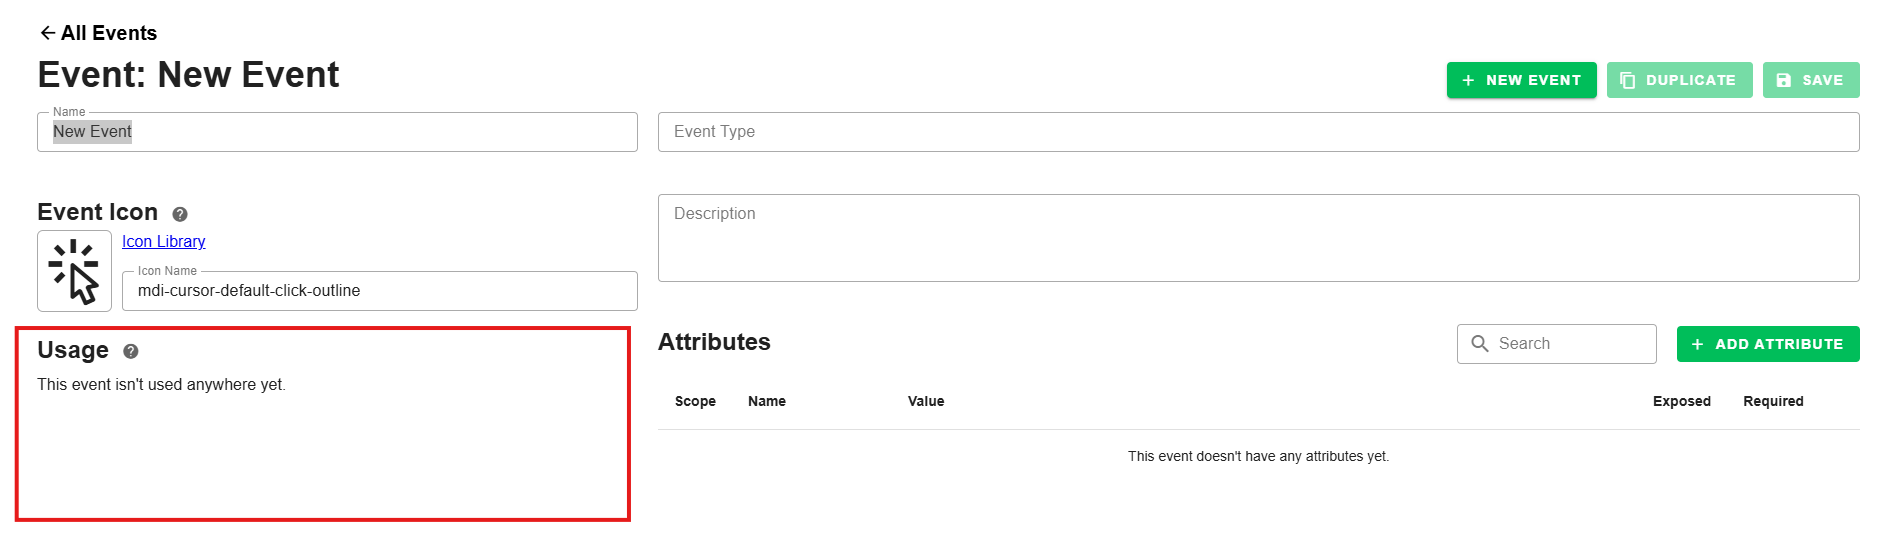
-Where the Event is Used: The Usage section of the Event Details page shows you a list of all the Views and Maps that are currently utilizing the Event. Each of the items in the lists are linked so you can easily jump to those Views or Maps if needed.
Event Details link
Deleting Events can be done from the Event Index page. Hover over the Event you'd like to delete and click the red delete button on the right side. After clicking the delete button a dialog will ask you to confirm the deletion.
Event Details link